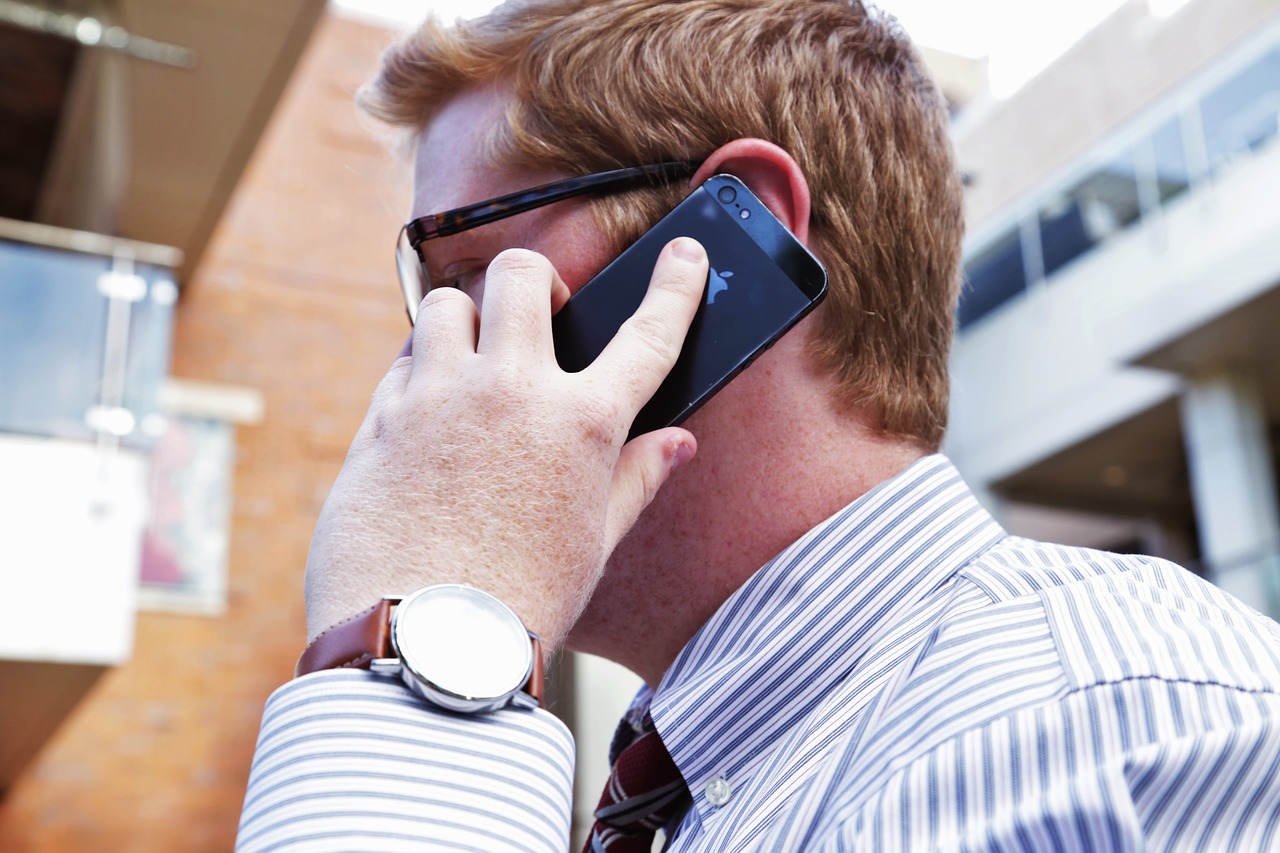
Whether you’re a secret federal spy catching your suspect’s confession on recording or a journalist trying to save your interviewees comments for later reference, learning how to record calls on your iPhone might be a useful skill someday.
Recording calls might be thought of as unethical and rather questionable in certain professions, but there are times when documentation of phone conversations is important to the success of your work and possibly even lead to criminal solutions in society.
Apple’s views on recording calls are pretty much against; their platform doesn’t really support such activities, but of course, with a little bit of hackery if a recorded iPhone call is what you want; trust and believe that it’s exactly what you’re going to get. Here’s how:
Recording Calls with someone else’s iPhone
This one is obvious and rather simple to achieve – all you require here is a second phone. Whether iPhone or not, this is not important; what you’re looking to achieve here is clear communication that is easily understood.
Simply choose the ‘Speaker’ option on your iPhone when making or receiving a call. Be sure to have a second phone set on the ‘Recording’ feature to catch every work right from the start of the conversation.
The up-side to this option is that it’s easy to execute, costs virtually nothing (given that you can borrow someone’s phone for the task) and does not require any installation of free or paid apps. Your cons are definitely linked to the quality in sound recording – while it will serve as a good basis to refer to, using such recordings for any professional reasons may not be recommended.
Recording iPhone Calls with third party software
Apple’s reluctance to record phone calls makes every sort of attempt by means of new software, rather difficult. There are so many workarounds you’ll need to consider when trying to execute this.
Rev Call Recorder is a great tool with no subscription costs that gets the job done with good quality sound recording. This tool is a great substitute for elaborate hardware and software that could end up costing you quite a hefty amount of money and even take you a long time to set up. You can opt to pay for transcriptions of your recordings which could come in quite handy in certain situations.
Here’s how to record outbound calls on your iPhone with Rev
Your first try at recording by means of Rev will be guided with a tutorial walk-through; this will explain how to conduct your recording successfully.
- Download Rev on your iPhone through the App Store
- Launch Rev before the call starts by following these instructions: Tap Start > Recorded Call > Outgoing Call
- Type in the number you wish to reach or choose from your contact list and tap ‘Start Call’
- Tap ‘Call’ to call Rev’s recording phone number; once that call starts, the app will instruct you to call your recipient’s phone number
- Once both calls are connected tap ‘Merge Calls’
- Continue your phone conversation, knowing that your call is being recorded.
Here’s how to record incoming calls on your iPhone with Rev
Recording incoming calls with Rev is easier than recording outbound calls.
- Download Rev on your iPhone through the App Store
- Accept your incoming call as normal and press the home button on your iPhone to return to the home screen
- Open Rev and follow these instructions: Tap Start Recorded Call > Incoming Call
- Tap ‘Call’ to connect to Rev’s call recording system
- Tap ‘Merge Calls’ to start recording calls.
While there’s quite a lot of tapping, merging and shuffling around your iPhone during a call, once you figure out the pattern and run the programme a couple of times, you’ll remember the steps easily. It’s just like riding a bike! You never forget!
Remember that recording calls for personal use may seem innocent, but do inform anyone you have a conversation with that you are recording their call. This is basic etiquette and would be appreciated by your recipients greatly.